For starters you could follow these steps below that I found on Parenting.com. I used all of these steps to guide me through to build our car! First you will need to find a box, any size box that is big enough for your little person! I didn't have any duct tape but I did have painters tape! It worked just fine!
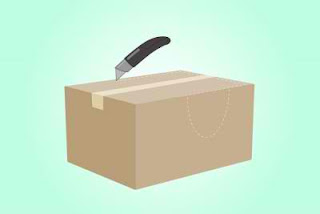
1. You start out with the box taped closed.
2. Then cut a semi circle to make doors (for this step I chose not to have semi circles for doors. I decided once I got to the last step to have doors that opened because Lucas really wanted doors that opened and closed!)
3. Then cut 2/3 of the top of the box, leaving it joined to the cars hood
4. Then fold the cut top of the box to create a winsheild. Next, tape the top fold to its bottom half.
5. Then cut out a windsheild.
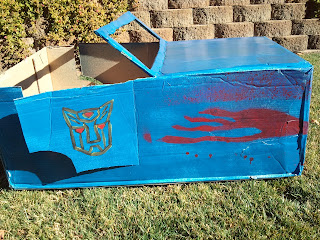
This is what ours looked like after we followed the steps from parenting.com! It is a lot of work! Make sure you do this part when your little guys are asleep! I did this part at 10pm while the boys were already in bed!
The next day Lucas and I went to the store and bought some spray paint instead of paint because it would dry faster! We bought one can of blue paint and one can of red spray paint! Walmart sells them for $3.49 a can!
Lucas wanted flames on his car so I used left over cardboard we cut off the car and drew a flame on it and cut out the flame and used the stencil of the flame to spray paint it on the car after we spray painted it blue!
Lucas wanted the Transformer symbol on his car also. So I just drew it on the box with some black paint I had. Then I also added some yellow paint to highlight the flames and the Transformer symbol. I also outlined the car with some red paint to add more detail to the car! Now you can see how I cut out the door of the car!
Then we used paper plates to make the rims and hot glued them to the car! Then painted the black around the plates to make the tires (you can always do that before you put the plates on)!
Then We used foil to put inside the plates to make the car have shiney rims!
We then covered up some cups with foil to make the headlights in the front!
Then used foil to make bumpers(to add character to the car)
Used white paint to make Lucas' License plate and blue paint to put Lucas' name on the back!
Foil to finish the look! Hand painted the lights!
Lucas collected bottle tops to use inside of his car!
We used a plate for his stirring wheel and poked a hole into the plate and into the dash board and put a pipe cleaner through the hole and tied a not on the other side of the dash board so the wheel can spin around! Then glued a pasta sauce cover over it to make a horn!
We also used wrapping paper on the inside of the car for the upholstery! Red construction paper for the doors! Then the last touch for the car was adding a pillow for your seat (comfort)!
Yes a lot of work! But so worth it, in the end once you see how excited Lucas and his friends were to see it! Even our dogs loved it!
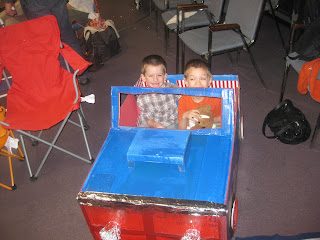
Lucas at his school with his buddy Jonah!
They had so much fun in it!
Lucas, Ryker, Buster and Chomper having some fun!
Lucas and Shoeshine!
Lucas with his best friend Buster!
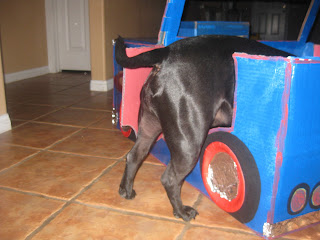
Chomper is going in for a ride!
They had way too much fun in there!
Lucas hiding inside his car! Buster coming out!
Now remember, while you make one of these beauties be sure to have fun with your little guy or gal! It is a fun family project you can do together. I had a lot of fun making it with Lucas! I am so glad he enjoyed it as much as I did! I love my boys!


No comments:
Post a Comment